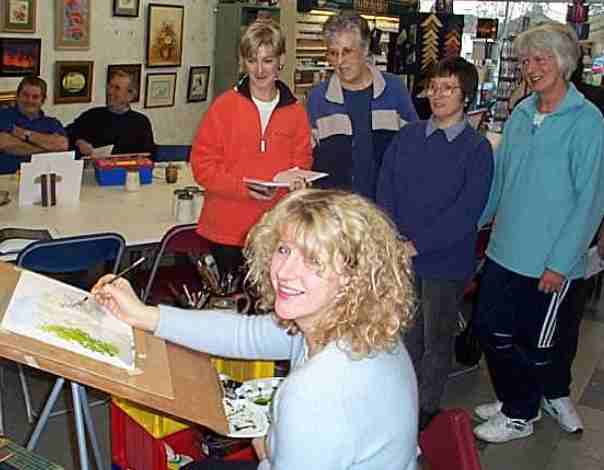
Below are some recent projects tackled at the Cherry Art Centre by students in mixed
ability classes:
Lynne and her teachers always
demonstrate how to tackle a wide range of watercolour techniques and problems.
If you can't get to her lessons, Lynne is happy to send you her step-by-step
colour sheets. There is one available to accompany each week's class.
Remember any gaps left in the foliage will reveal the skeleton of the tree.
Using a rigger brush loaded with the same colour, paint in the smaller
branches. Always try to paint the branches in an outward movement, in the
direction of the growth of the branch; that way the strokes should taper.
To avoid your tree looking like a telegraph pole, make sure the bottom of
the tree is either ragged or blends in with the ground.
Tip:
To make the trunk look round, think where the light is comming from and run
a smaller brushful of dark paint up along one side of the painted trunk
while the first coat is still damp.
Home |
Pictures |
Supplies |
Framing |
Art Courses |
Try this at home! |
Exhibitions, etc. |
Contact

Once you have learned some basic techniques, you can adapt them to develop your own personal style.
Click below for Lynne Holehouse's advice and tips for painting:
TREES |
HORSES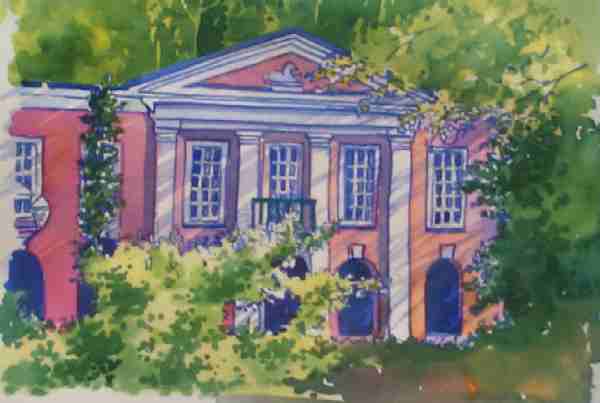
A house in Portmerion.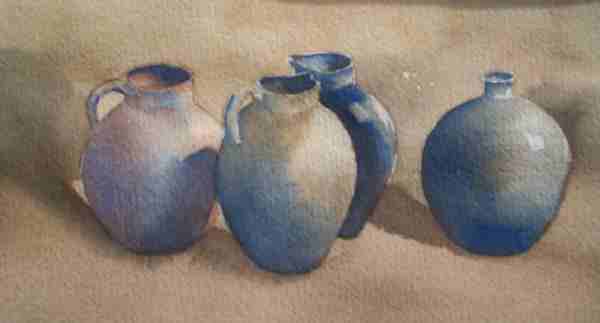
Wine flasks from the Nappa valley.

Lynne Holehouse says: "I've found that students often have trouble painting trees.
See my demo below for one approach you might like to try..."
A
Soak and squeeze out a natural sponge.Bunch it up and dip it into neat
cadmium yellow and sap green. (I find sponging works best with tube
paints). On some scrap, make a figure of 8 to mix the colours a little.
Carefully dab the surface - don't drag your sponge.
B
Before it dries, dip the uncleaned sponge into some burnt sienna and maybe a
little prussian blue. Dab this mainly onto the lower areas of foliage to
indicate depth and shadow.
C
With a number 6 Petit Gris brush, apply a wet mixture of sap green and burnt
sienna for the main trunk.

| ||
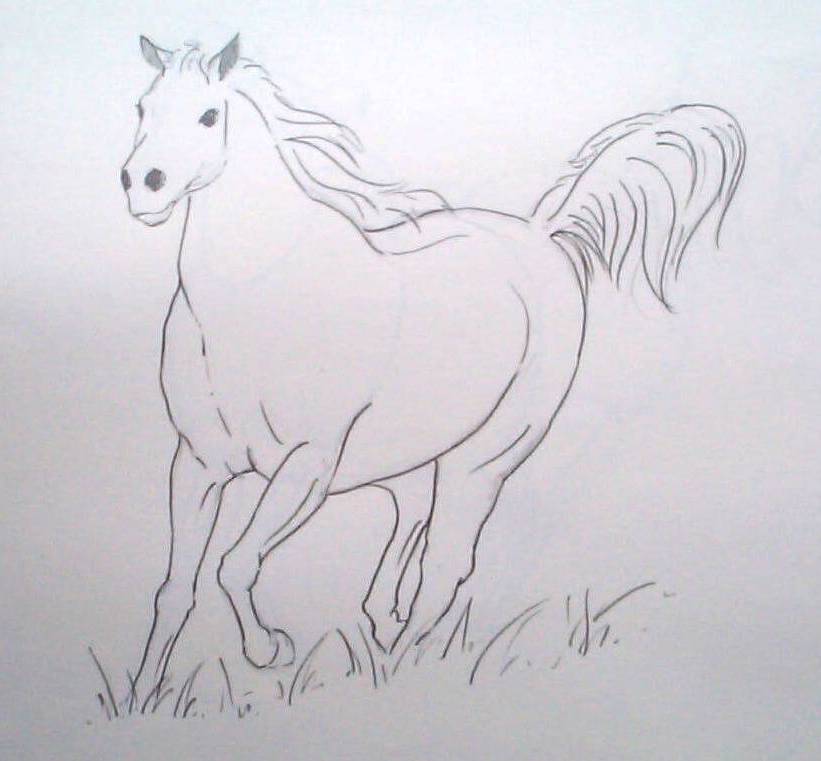 |
AUsing a 2b pencil I did a rough sketch. I wanted to emphasise movement which I did by drawing the legs at an angle, not "planted" at right angles to the ground.TIP: It's handy to have a piece of scrap paper under your hand whilst you work to prevent smudges. | |
BAgain with a 2b pencil, I softly blocked in the main areas of shade using diagonal strokes. I made the eyes and nostrils much darker at this stage and created the highlights with a putty rubber.TIP: When drawing, try to have plenty of tones, from the white of the paper, right through to as black as you can get. That way, your drawing will have plenty of life and "oomph"! |
 |
|
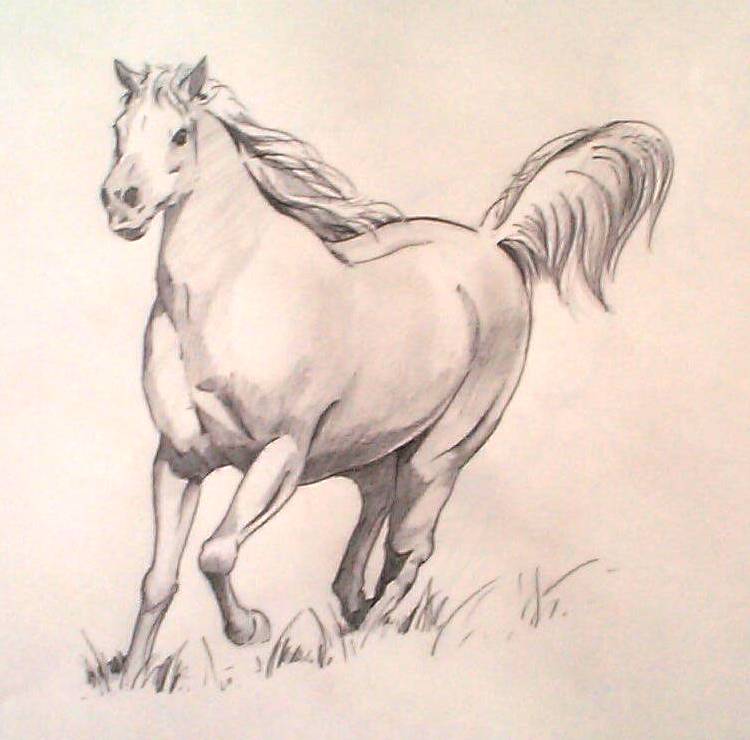 |
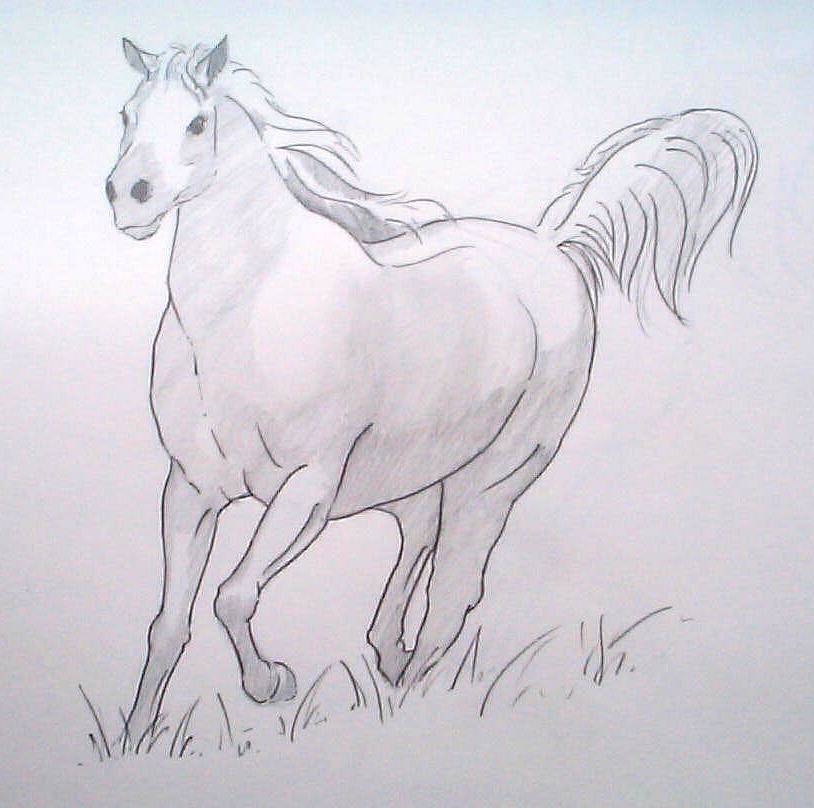
CWith a 9b pencil I emphasised any mane and tail texture and the stronger shadows.TIP; If you have two similar tones together, you can separate them by either making one much darker, or, like the belly of the horse near the hind legs, you can lift off a sliver of highlight with a putty rubber. To use a putty rubber effectively you should hold it in your resting hand while you work. Within a few minutes the rubber will be pliable and you will be able to mould it into a point if necessary.
| |
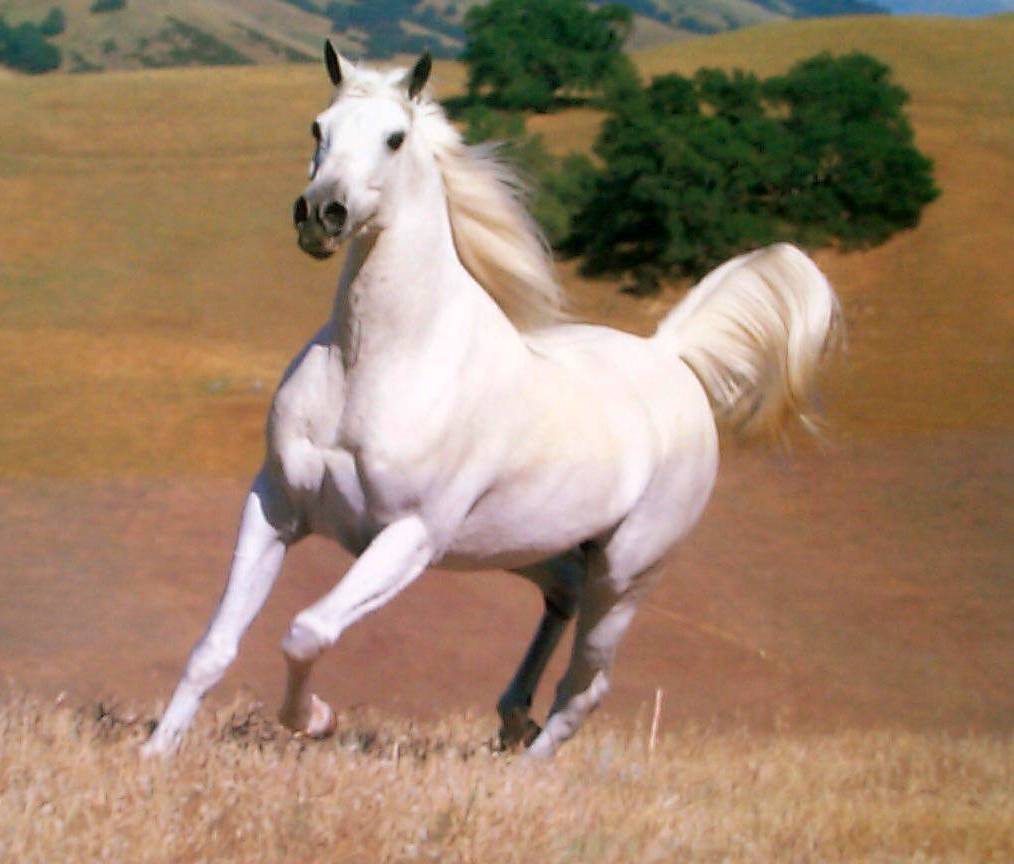 Lynne Holehouse says: "I've found that students can feel intimidated by animal paintings.
See my demo below for one approach you might like to try..."
Lynne Holehouse says: "I've found that students can feel intimidated by animal paintings.
See my demo below for one approach you might like to try..."
© CherryArtCentre
CherryArtCentre acknowledges the copyright and ownership of external linked sites. Please report any technical problems with this site to the
webmaster.
![]()